Background and Introduction
Our two-wheel adventures began years earlier, when the kids were young — weekend rides along Victoria’s rail trails, then growing into longer tours like our three-week ride along the Danube and three weeks exploring New Zealand’s South Island. Those trips became part of our family story: slow travel, self-supported journeys, and the freedom that comes from carrying everything you need on two wheels.
When Covid hit, that rhythm was suddenly interrupted. With Victoria’s 5–10 km travel radiuses firmly in place, the idea of loading up the touring bikes and heading overseas again felt a long way off. Yet we still craved that same sense of independence and motion — the quiet joy of travelling self-supported, exposed to the weather, moving through the landscape under our own power.
That’s when the idea took shape: motorbikes for exploring Australia, and bike-packing for future overseas adventures. It felt like the natural evolution of what we already loved — two wheels, a shared sense of discovery, and the open road ahead — and some nights in quaint historic pubs or guest houses when camping wasn’t a real option.
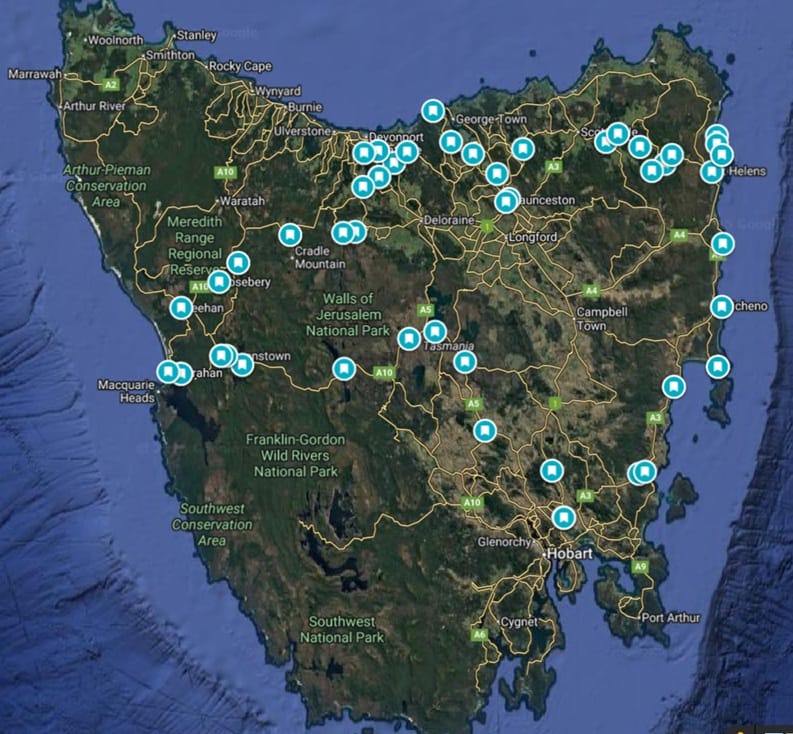
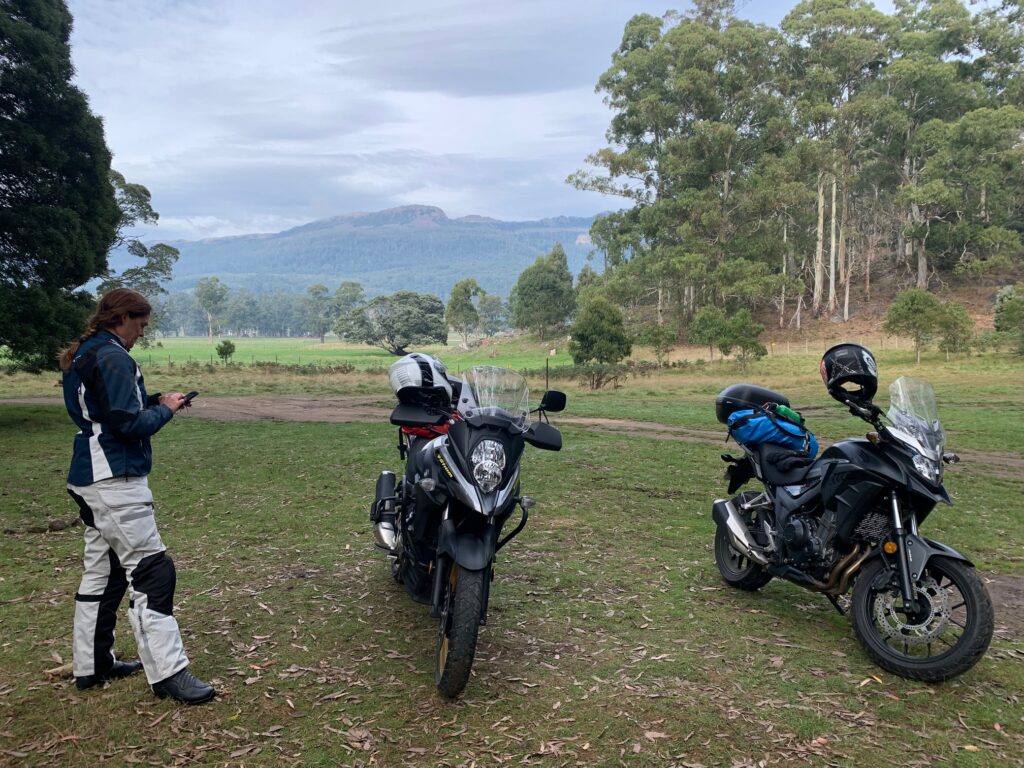
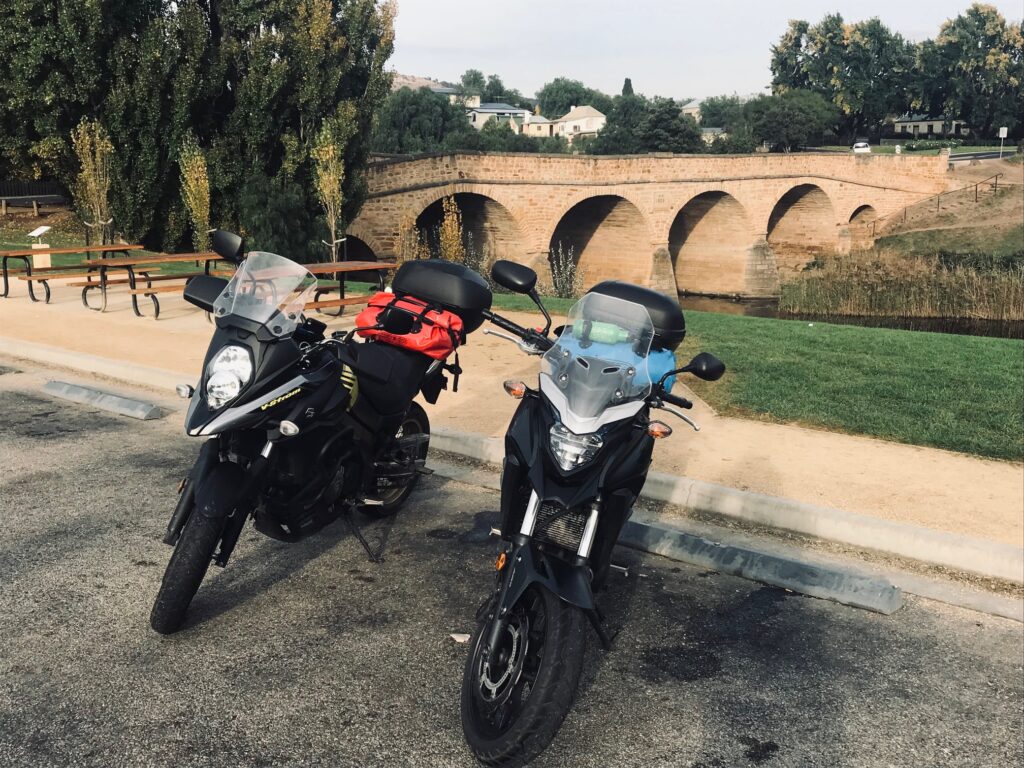
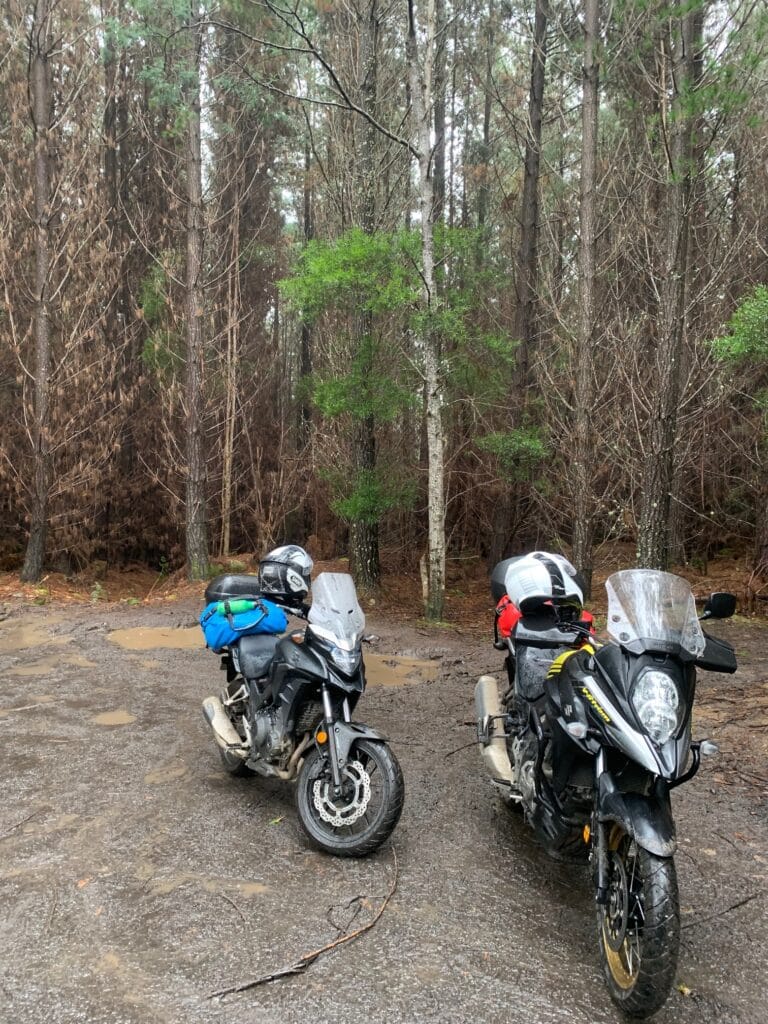
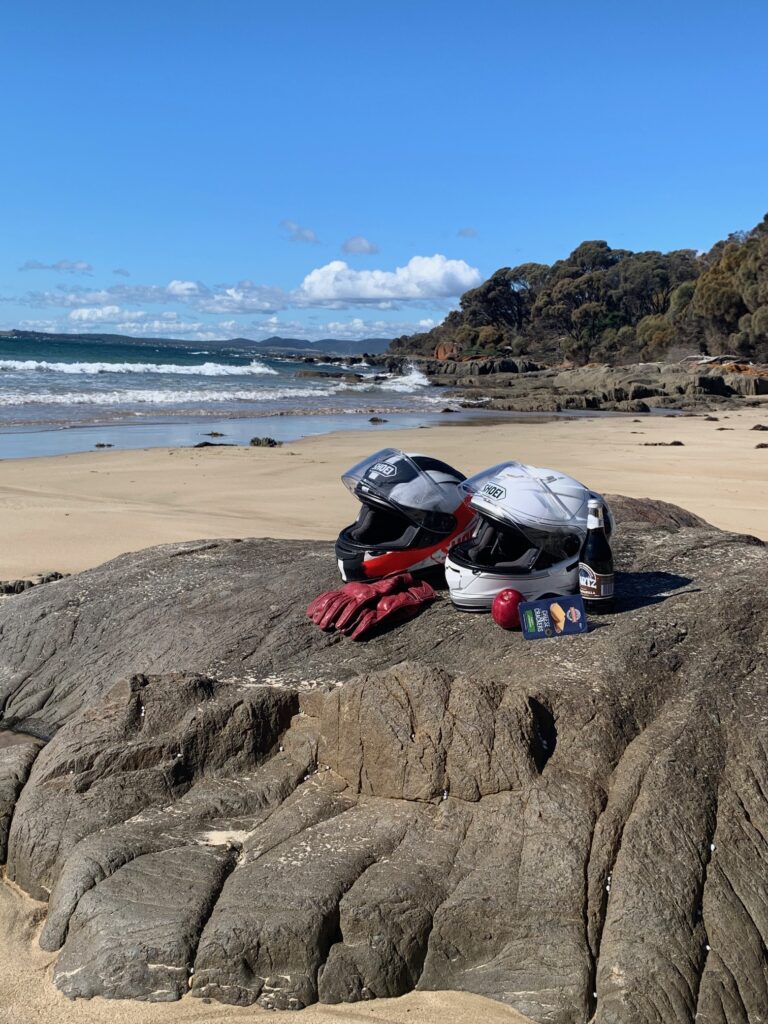
This trip to Tasmania represented our first real foray into motorbike touring. Riding our first bikes — Chris on a Suzuki V-Strom 650 and Janette on a Honda CB500X — we set off to see whether the magic of our cycling tours could be found again in a new form. Over eight days, we crossed the island from coast to coast, through mountain ranges, forests, and coastal towns, rediscovering that same familiar rhythm: two wheels, shared adventure, and absolute freedom — a simple circular route that began and ended in Devonport.
Duration: ~7 Days
Trip Type: Motorcycle Touring & Light Adventure — Paved and Unpaved Roads
Accommodation: Mix of pubs, guest houses (found on Booking.com)
Route Distance: Approx. 1,100 km
Day 1 – Boat to Devonport
Route
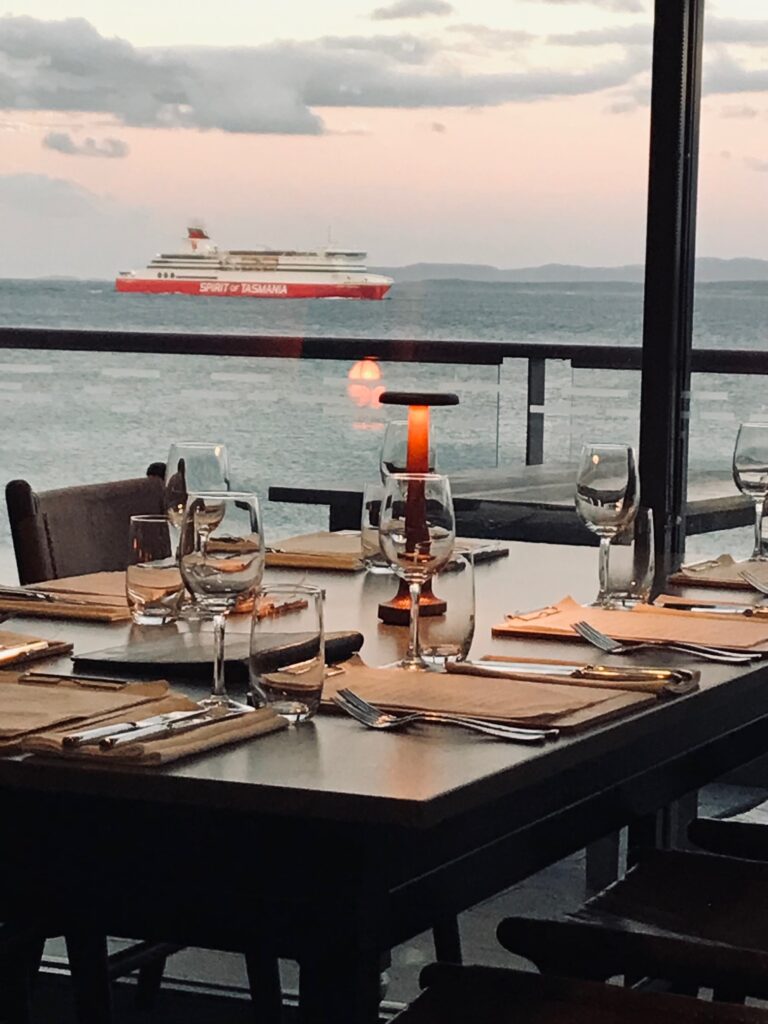
Melbourne → Devonport (overnight crossing on the Spirit of Tasmania)
Distance
Sea crossing
Daily Narrative
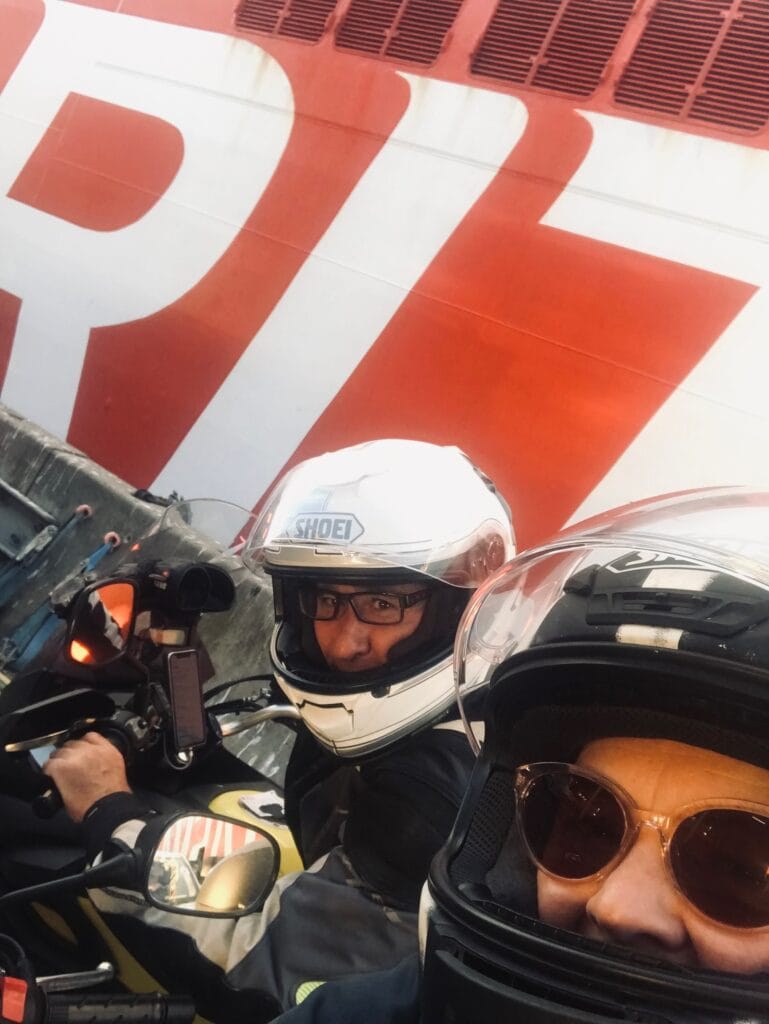
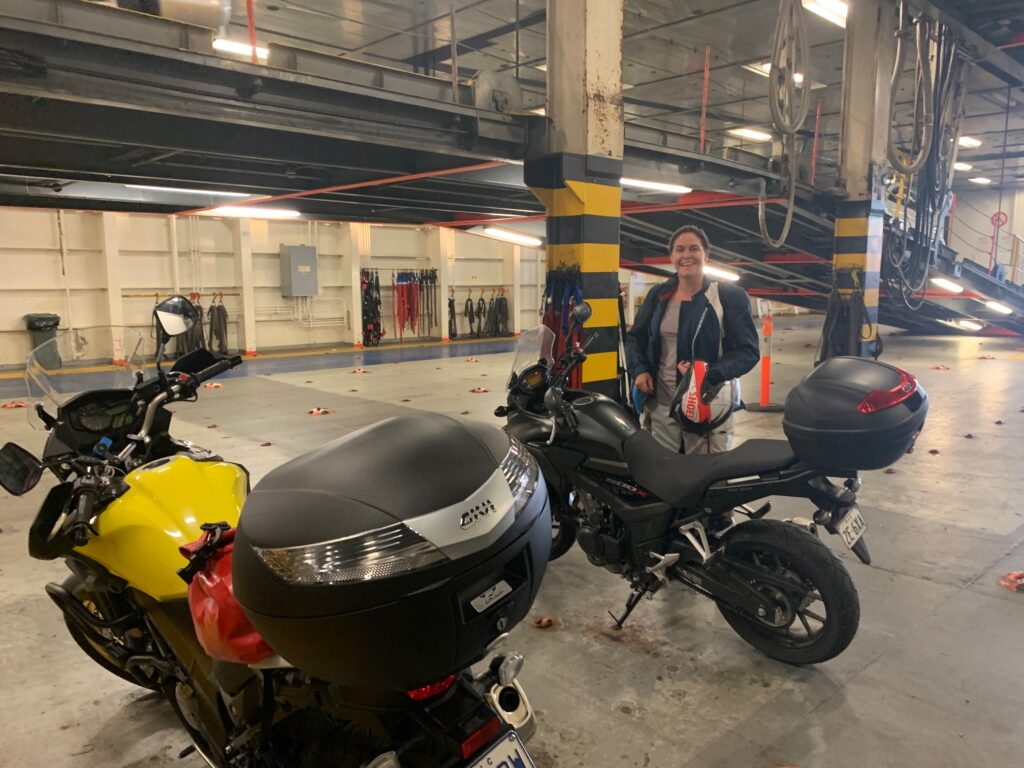
Departure day — the Wednesday evening before Easter Good Friday, and the start of something entirely new. The bikes were packed — backboxes loaded, our trusted Ortlieb luggage bags strapped to the seats — and the excitement was high as we made our way to Station Pier in Melbourne to board the Spirit of Tasmania.
After finishing work for the day, we headed straight to the pier and joined the long queue of cars and caravans waiting to board. It’s always worth remembering how long that line can be — but one of the joys of travelling by motorbike is being waved forward past the traffic to speed up the boarding process.
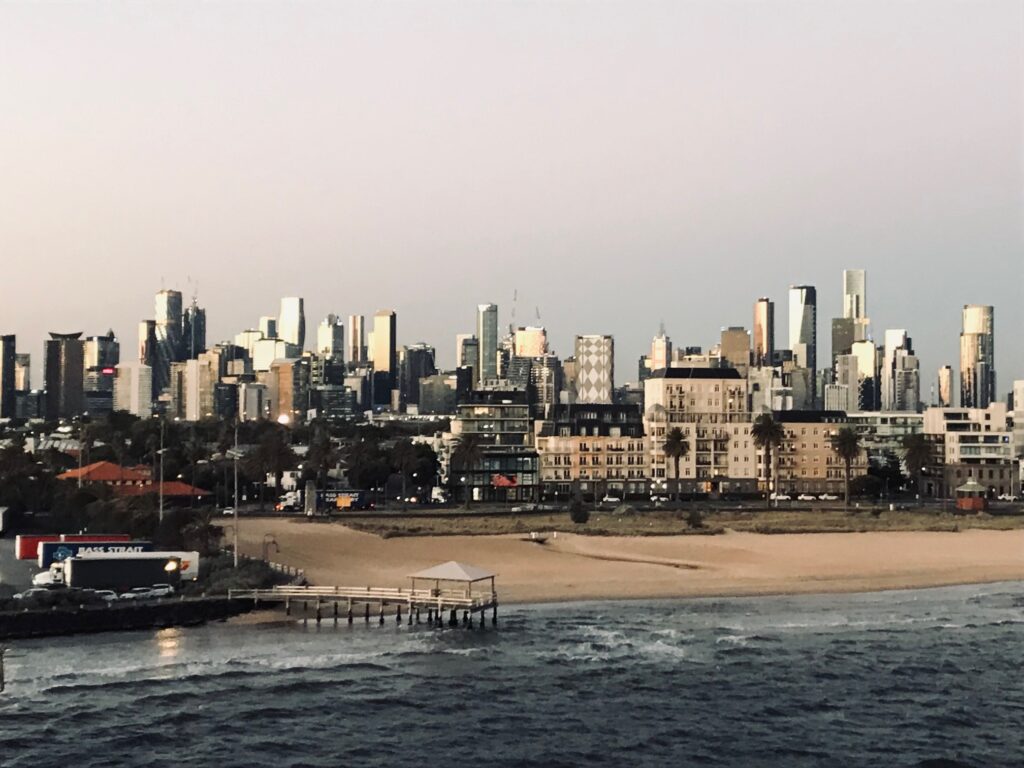
Once checked in and the bikes secured below deck, we made our way to the cabin, unpacked the essentials, and headed to the restaurant deck. A glass of champagne in hand, we found a spot outside on the deck to watch Melbourne slip away behind us, lights fading as the Spirit turned south and made its way down Port Phillip Bay toward open water.
With an early docking scheduled for 5 a.m., we called it a night not long after departure — an early sleep for an early start, ready to disembark in Devonport and begin the first real ride of the trip.
Day 2 – Devonport to Cradle Mountain
Route
East Devonport → Latrobe → Railton → Sheffield → Mersey Forest → Liena → Moina → Cradle Mountain
Distance
Approx. 126 km
Daily Narrative
After arriving into East Devonport at some ungodly hour — around 5 a.m. — the Spirit of Tasmania docked and the loudspeaker call roused everyone to return to their vehicles. Unfortunately, Janette was suffering from a migraine, so we made our way into the centre of Devonport to park up and wait it out. With most of the town still asleep, McDonald’s became our refuge — coffee and a breakfast muffin (or cheeseburger) to start the day while Janette recovered.
An hour later, she was feeling much better, and we set off along the River Road, tracing the Mersey River toward Latrobe. The road wound through farmland and forest, the morning mist hanging low over the valley. From there, we turned onto the C146, heading towards Barrington, and then joined the B13 down to Railton, passing stretches of forest on our left before the landscape opened up to reveal the mining activity around town.
We stopped in Railton for another coffee — this time at a place called Burgers and Bikes, perhaps not the most inspired stop, but the bakery across the road was still closed. From there, we followed the B14 to Sheffield, surrounded by rolling hills and views of Mount Roland. Then it was onto the C137, looping into the Mersey Forest, where we made a brief attempt to stop at Mole Creek Caves — closed, unfortunately — before continuing on.
We pulled into the Mersey River Campgrounds for an impromptu roadside coffee using our camping gear, a small pause in an otherwise overcast but dry day. The road narrowed and twisted through Liena and Moina, before meeting the C132 that leads into Cradle Mountain Road.
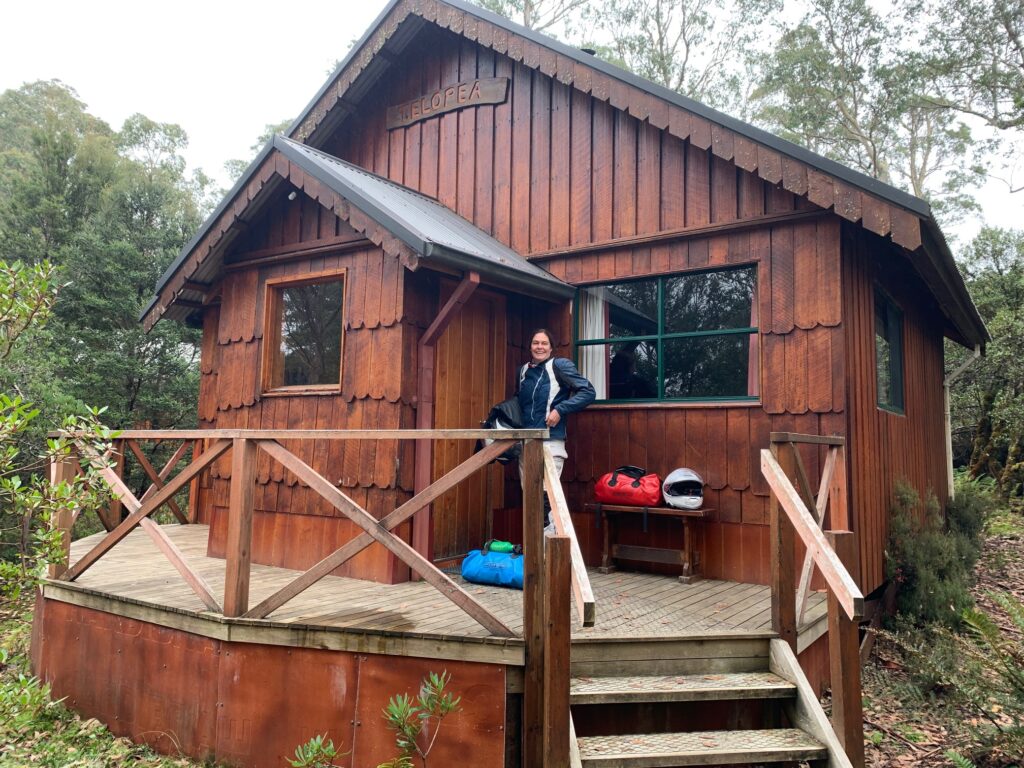
By mid-afternoon, we rolled into Cradle Mountain, checking in at the Cradle Mountain Highlanders. We picked up supplies from the Discovery Parks general store — steaks, wine, and a few extras — and settled in for a cosy evening. The cabin was perfect: open fire, four-poster bed, and the mountain air cool and misty outside. Overcast skies all day, but no rain — just that moody, highland atmosphere that makes Cradle Mountain unforgettable.
Overnight Accommodation
Cradle Mountain Highlanders
Drinks and Meals
Breakfast: McDonald’s, Devonport
Coffee: Burgers and Bikes, Railton
Lunch: Self-catered coffee stop – Mersey River Campground
Dinner: Self-catered steaks and wine from Discovery Parks store, Cradle Mountain
Highlights
Morning recovery and first real ride through Tasmania’s northwest
Scenic forest and farmland roads via Latrobe, Railton, and Sheffield
Cosy firelit evening at Cradle Mountain Highlanders

Day 3 – Cradle Mountain to Strahan
Route
Cradle Mountain → Tullah → Rosebery → Mackintosh Dam → Zeehan → Ocean Beach → Strahan
Distance
Approx. 139 km
Daily Narrative
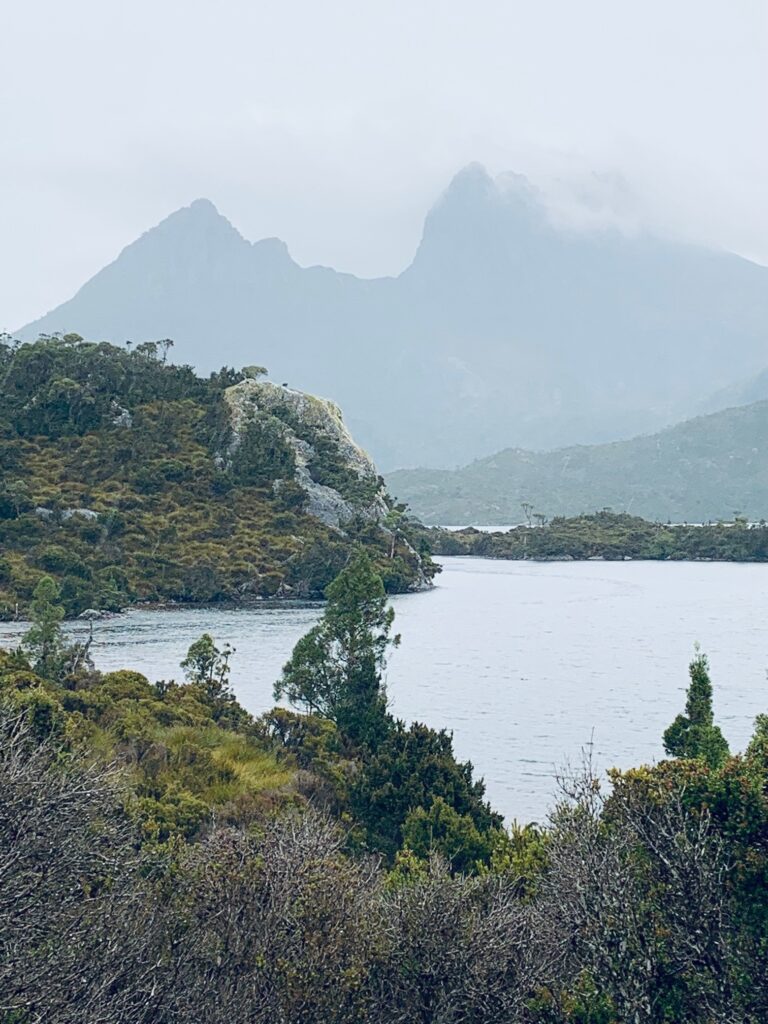
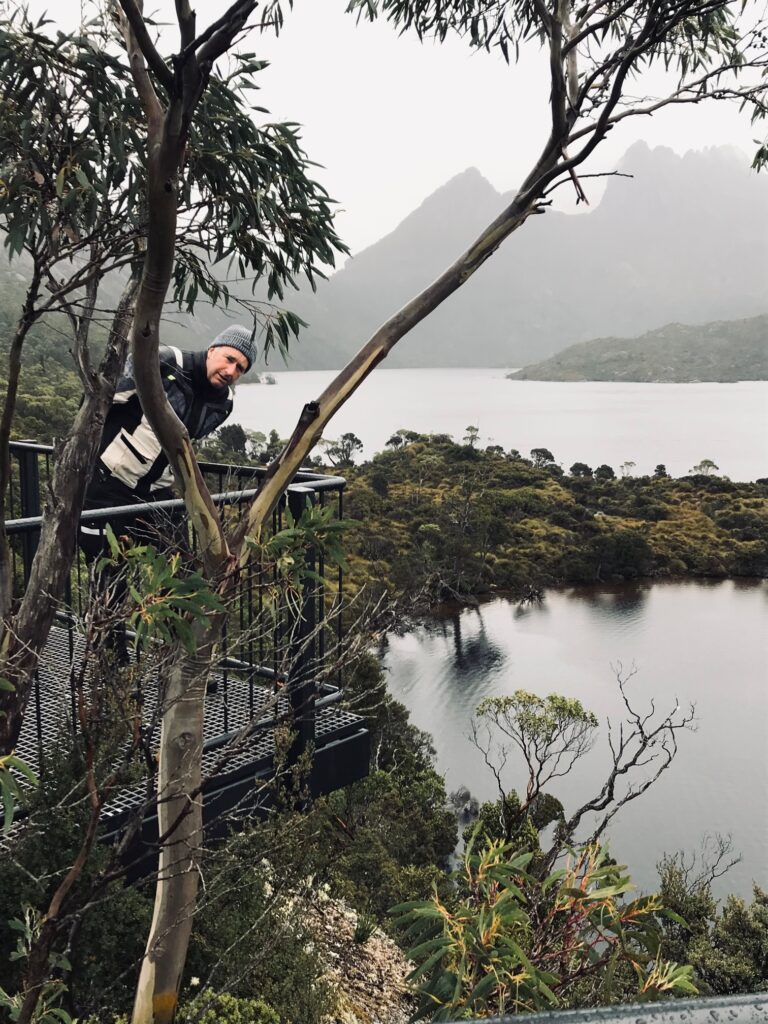
An early start from Cradle Mountain, keen to take a quick walk into the park before the day’s ride. With our gear already packed and bikes ready, we left Cradle Mountain Highlanders and made our way to the Visitor Centre, catching the shuttle bus deeper into the national park. From there, we enjoyed a short walk around Dove Lake, still in full riding gear, taking in views of Cradle Mountain and Glacier Rock under a grey, moody sky — a true taste of Tasmania’s highlands.
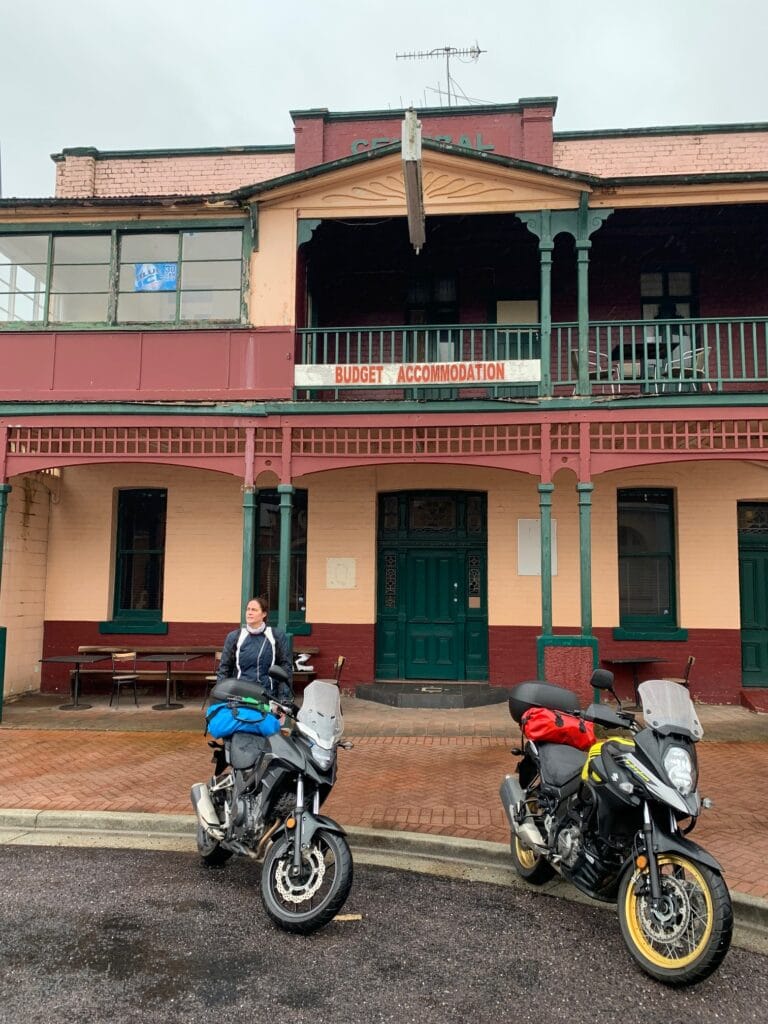
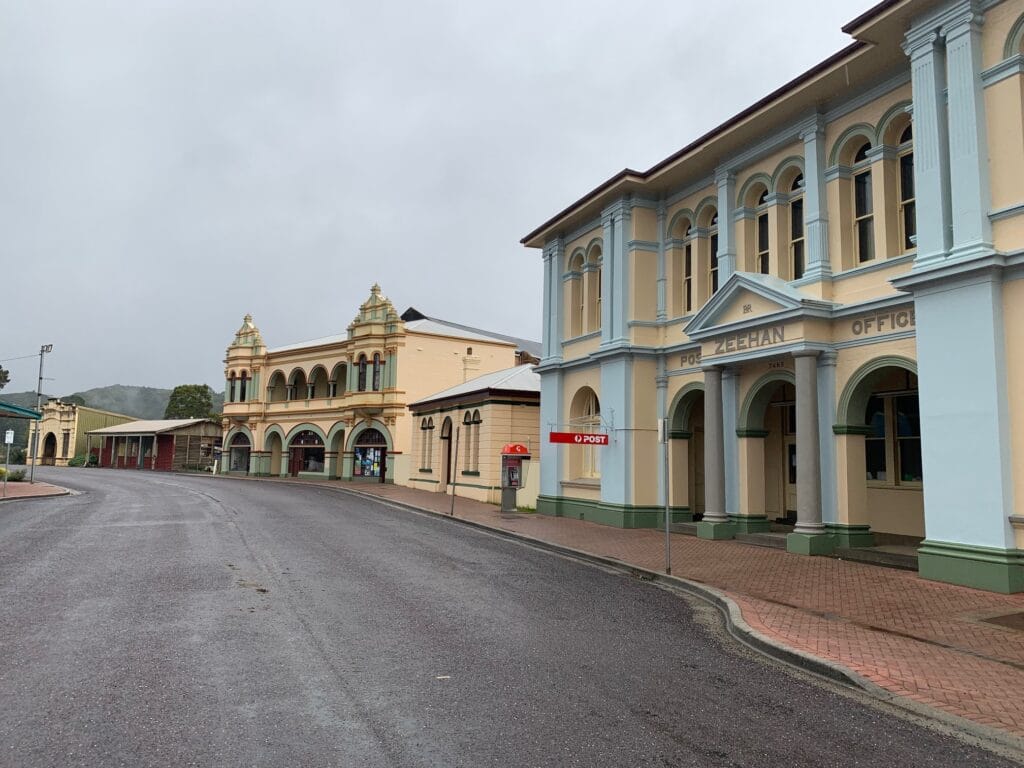
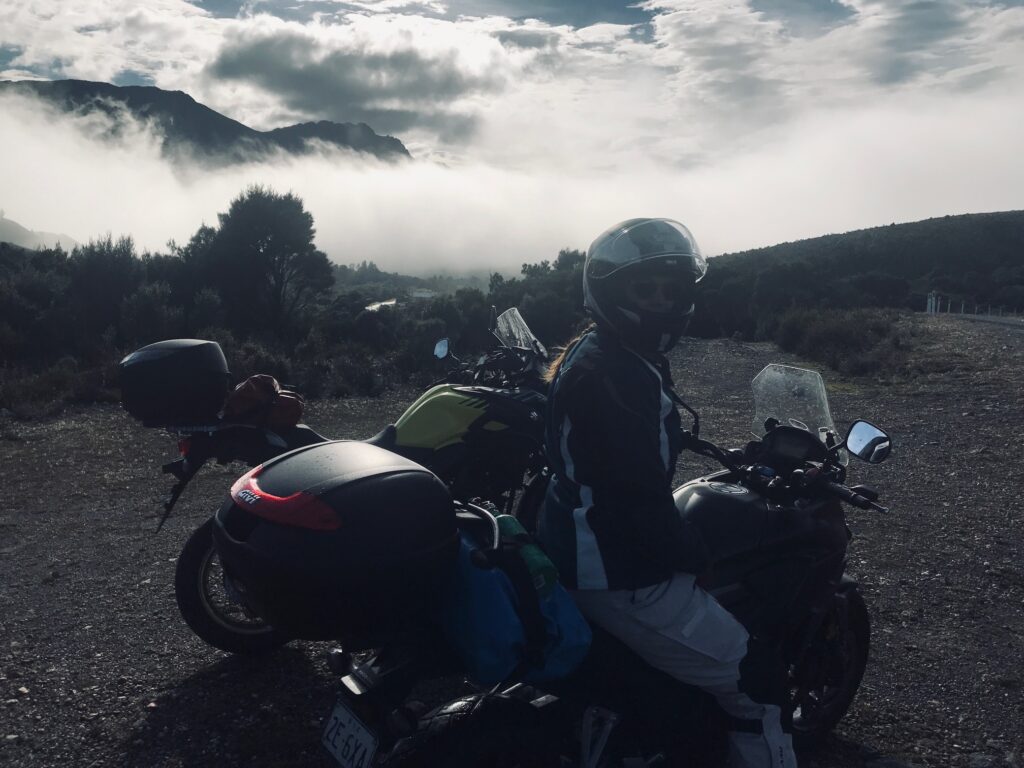
Leaving the park mid-morning, we followed the C132 south through Tullah, then joined the A10 (Murchison Highway) toward Rosebery. The road twisted through forest and mountain passes, cool and quiet. From the highway, we took a detour down Mackintosh Road to visit the Mackintosh Dam — a short side trip well worth the view over the lake and dam wall. Back on the main route, we rolled into Zeehan on Good Friday, only to find the town completely shut. We parked up outside the Central Hotel, brewed a self-catered coffee, and enjoyed the stillness of the morning. Zeehan’s old mining heritage was clear everywhere — weathered buildings and wide streets that tell of busier times. The town’s more recently appeared in the ABC series Bay of Fires, and it’s easy to see why — there’s a real cinematic beauty to the place.
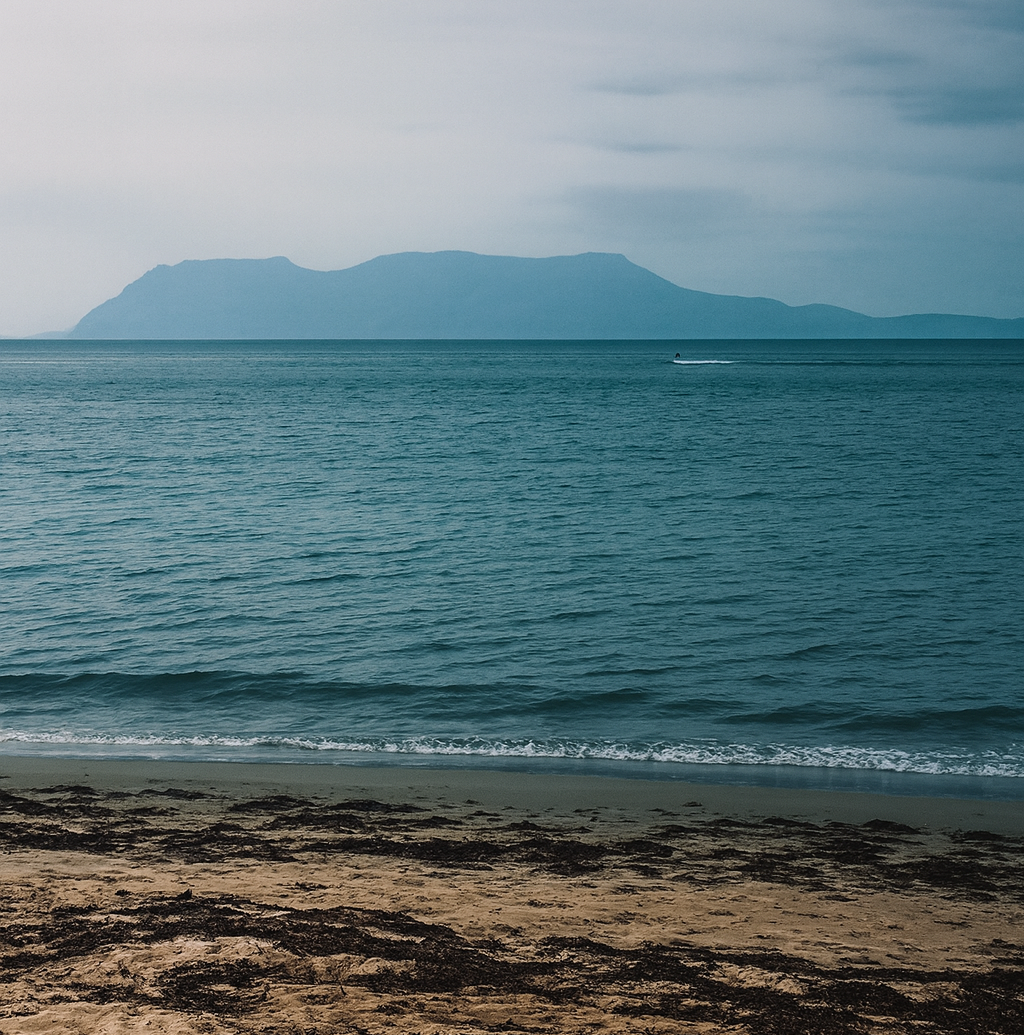
From Zeehan, we pushed on toward the west coast and made a detour to Ocean Beach, down a sandy gravel road that tested our growing off-road confidence. The final stretch into Strahan was smooth and scenic, leading us to the harbour and our accommodation at Strahan Central.
We spent the afternoon exploring Strahan Harbour and Regatta Point, the terminus of the West Coast Wilderness Railway, before enjoying a relaxed dinner overlooking the water at Risby Cove Hotel. A perfect end to a varied and memorable day.
Overnight Accommodation
Strahan Central Accommodation
Drinks and Meals
Breakfast: Self-catered coffee at Cradle Mountain after walk
Lunch: Self-catered roadside stop, Zeehan Dinner: Risby Cove Hotel, Strahan
Highlights
Early walk around Dove Lake and Glacier Rock in Cradle Mountain National Park
Side trip to Mackintosh Dam and mining town of Zeehan
Sunset over Strahan Harbour and dinner at Risby Cove
Day 4 – Strahan to Richmond
Route
Strahan → Queenstown → Derwent Bridge → Miena → Bothwell → Melton Mowbray → Lovely Banks → Mud Walls Road → Richmond
Distance
Approx. 282 km
Daily Narrative
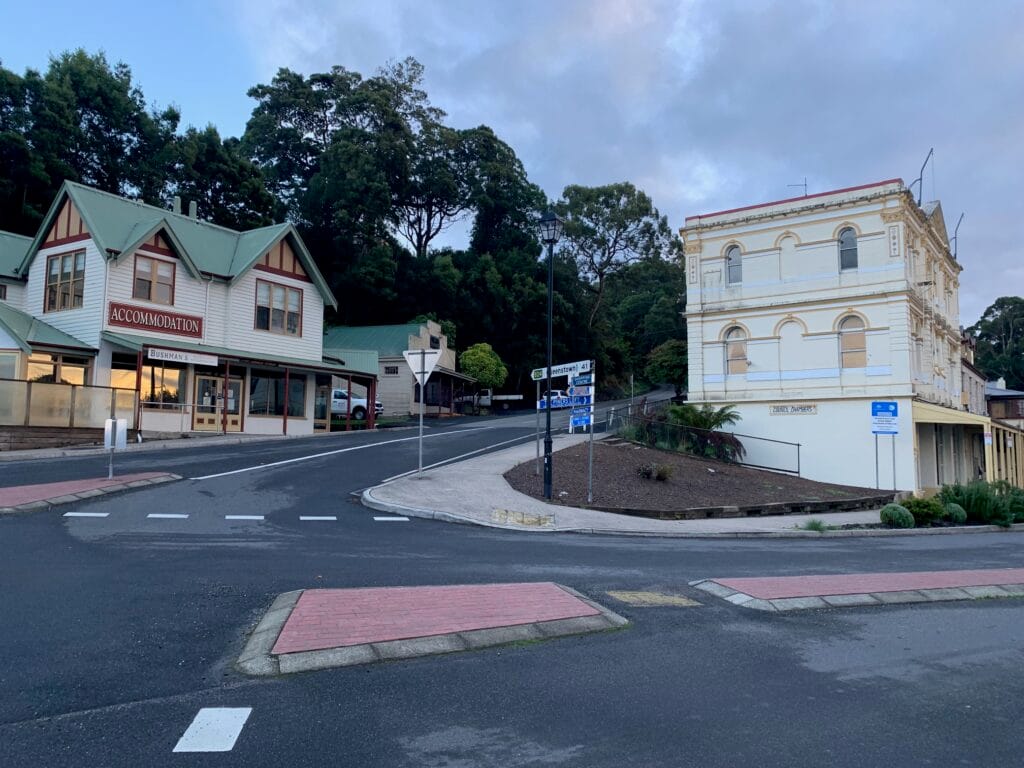
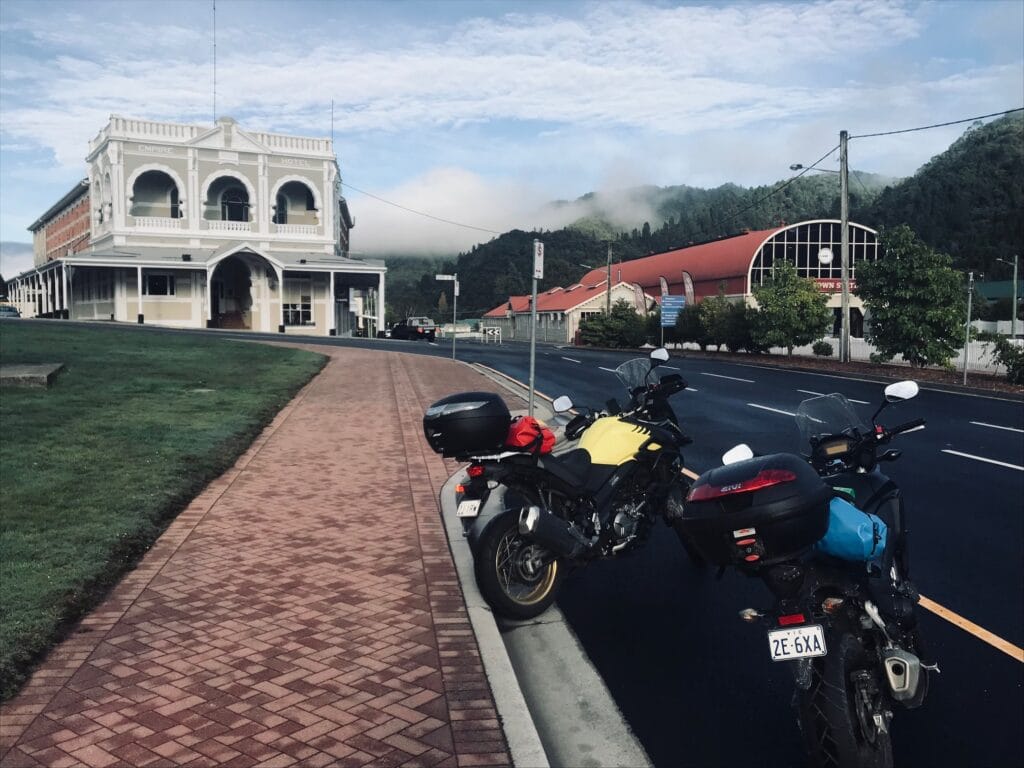
Day 4 marked the longest ride of the trip, crossing Tasmania from the wild west coast to the rolling farmland of the east — more than 250 km, closer to 300 by day’s end. We left Strahan early under overcast skies after overnight rain, wiping down the bikes and settling in for a full day in the saddle. The ride began with a steep climb out of Strahan, ascending through the Teepookana Forest Reserve and dropping into Queenstown, an old mining town surrounded by raw, treeless hills. A quick coffee stop there before taking on the famous “99 Bends” — the twisting climb out of Queenstown along the A10 Lyell Highway, one of Tasmania’s best-known motorcycle routes. The road wound steadily upward, crossing the Lake Burbury Bridge and tracing the course of rivers including the Collingwood and Franklin.
By mid-morning we reached Derwent Bridge, stopping at the Hungry Wombat Café for coffee and a snack, before pressing east along the Lyell Highway. Turning off onto the B11 Marlborough Highway, we rode through open highlands past Little Pine Lagoon toward Miena, the gravel road rolling gently over alpine plateaus.
From Miena, we descended the A5 Highland Lakes Road, stopping in Bothwell for lunch at the Roadhouse Café, opposite the stone façade of St Michael and All Angels Anglican Church. Continuing south-east, we reached Melton Mowbray and joined the Midland Highway (A1) briefly before turning off again onto Lovely Banks Road, another dirt stretch that connected to Mud Walls Road (B11) — a beautiful, quiet backroad that carried us the final leg into Richmond.
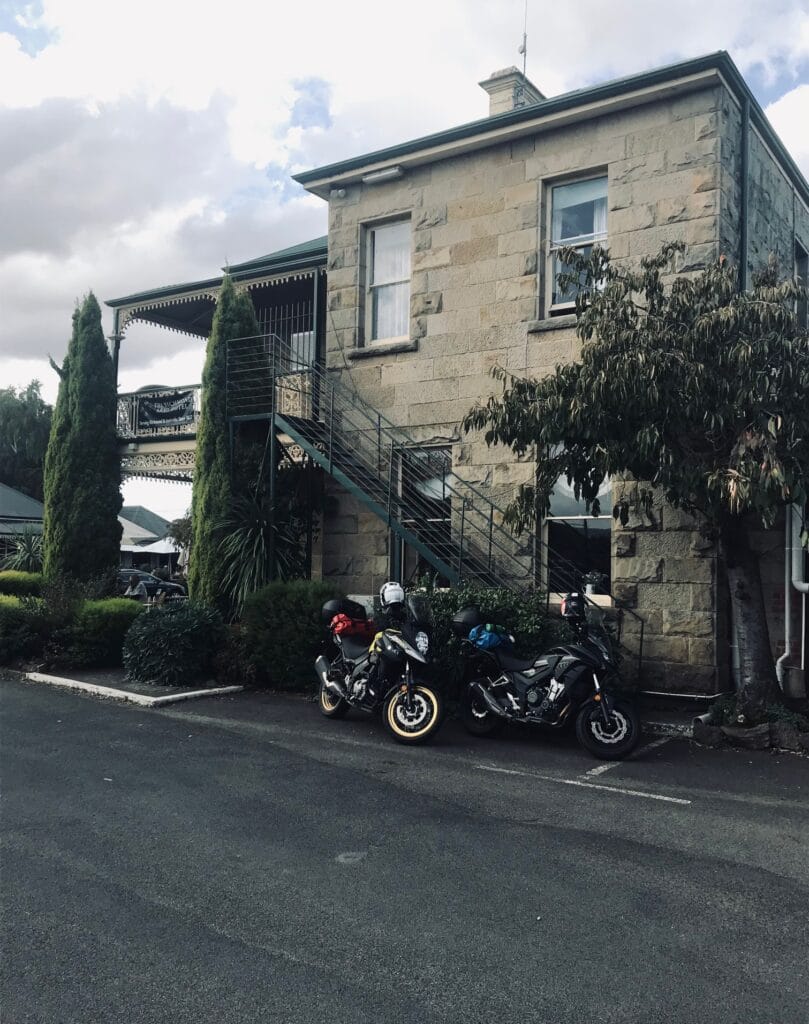
By late afternoon, we rolled into town, checking into the Richmond Arms Hotel — tired but satisfied after a long, rewarding day through some of Tasmania’s most varied landscapes. Overcast skies throughout, but only light drizzle; a big day, capped perfectly with a well-earned beer at the Richmond Arms before settling in for the evening.
Overnight Accommodation
🏨 Richmond Arms Hotel
Drinks and Meals
Breakfast: Coffee stop in Queenstown
Lunch: Bothwell Roadhouse Café
Dinner and drinks: Richmond Arms Hotel – Counter Meal and couple of well-earned beer’s
Highlights
Riding the “99 Bends” from Queenstown and crossing Lake Burbury
Coffee stop at the Hungry Wombat and the alpine stretch via Miena
Longest day’s ride capped with a cold beer at the Richmond Arms
Day 5 – Richmond to Freycinet
Route
Richmond → Runnymede → Buckland → Orford → Paradise Gorge → Swansea → Coles Bay → Freycinet
Distance
Approx. 180 km
Daily Narrative
Breakfast at Ashmore on Bridge Street in Richmond set the tone for the day — a quiet start before heading east under continual overcast skies. From town, we followed Brinktop Road, joining the A3 Tasman Highway as we began to make our way toward the east coast. The road wound gently through Runnymede and Buckland, before opening into the scenic approach to Orford, where the Prosser River runs alongside the highway. Passing through Paradise Gorge, the first glimpses of the coast appeared — a winding stretch of road that lives up to its name.
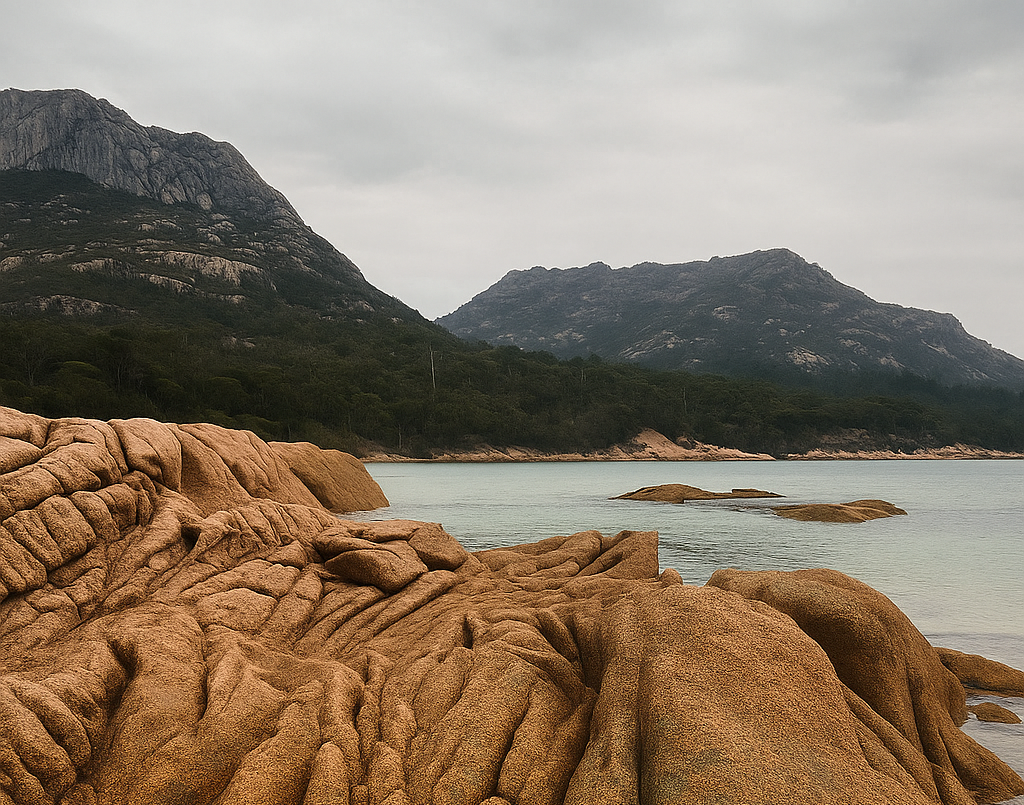
From Orford, we continued north on the Tasman Highway, enjoying a flowing coastal ride through Rocky Hills and Swansea before turning off onto the C302 Coles Bay Road. This long spur road led us directly into the Freycinet Peninsula, where granite peaks, turquoise water, and wide open skies greeted us at every turn.
Arriving early in the afternoon gave us time to explore Freycinet National Park, riding out to the Cape Tourville Lighthouse and Lookout, then down to Honeymoon Bay. From the lighthouse, the view across Wineglass Bay was stunning — the perfect reward for a shorter, scenic day.
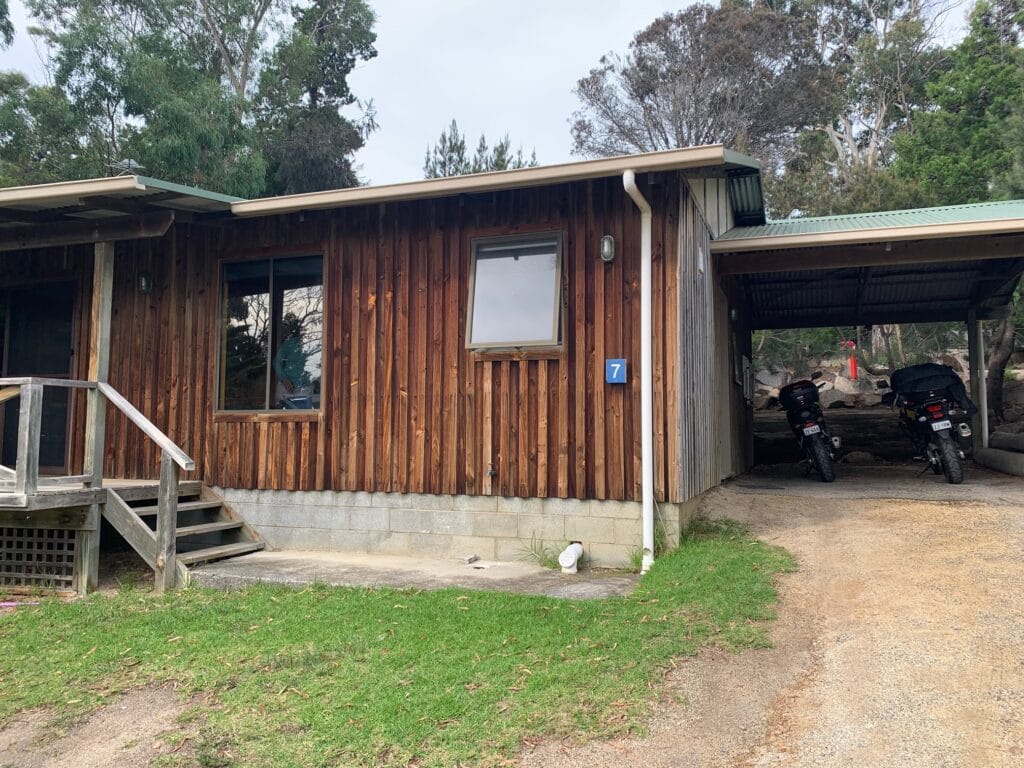
We stayed the night at the BIG4 Iluka Caravan Park in Coles Bay, just a short walk from the beach. Dinner was self-catered after stocking up at the general store, followed by a relaxing beverage at the Iluka Tavern as the sun set over the bay.
Overnight Accommodation
🏕️ BIG4 Iluka Caravan Park, Coles Bay – 2 room Cabin with carport!
Drinks and Meals
Breakfast: Ashmore on Bridge Street, Richmond
Lunch: Light roadside snacks en route
Dinner and drinks: Self-catered meal, Iluka Tavern beverage
Highlights
Riding the Tasman Highway through Paradise Gorge and Orford
Afternoon exploring Freycinet National Park and Cape Tourville Lighthouse
Sunset drinks overlooking Coles Bay
Day 6 – Freycinet to Pyengana
Route
Coles Bay → Bicheno → Chain of Lagoons → Falmouth → Scamander → St Helens → Binalong Bay / Bay of Fires → Pyengana
Distance
Approx. 142 km
Daily Narrative
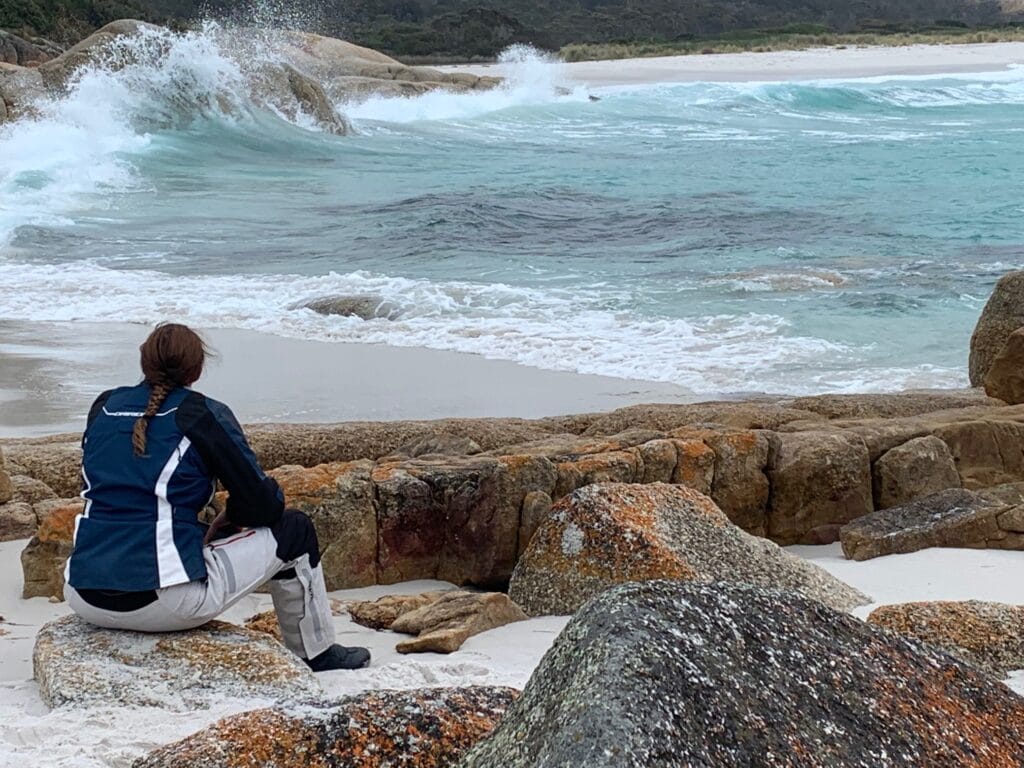
Day 6 turned out to be probably the most spectacular day of our trip. Tasmania had already shown itself beautifully under overcast skies, but today the light, the coastlines, and the water combined into something unforgettable.
We began the morning with a swim at Coles Bay — a ritual we always try to honour: plunging into new waters whenever opportunity allows. The air was cool, the water crisp, and the granite peaks of the Hazards rose in the distance, lending a moody but majestic backdrop.
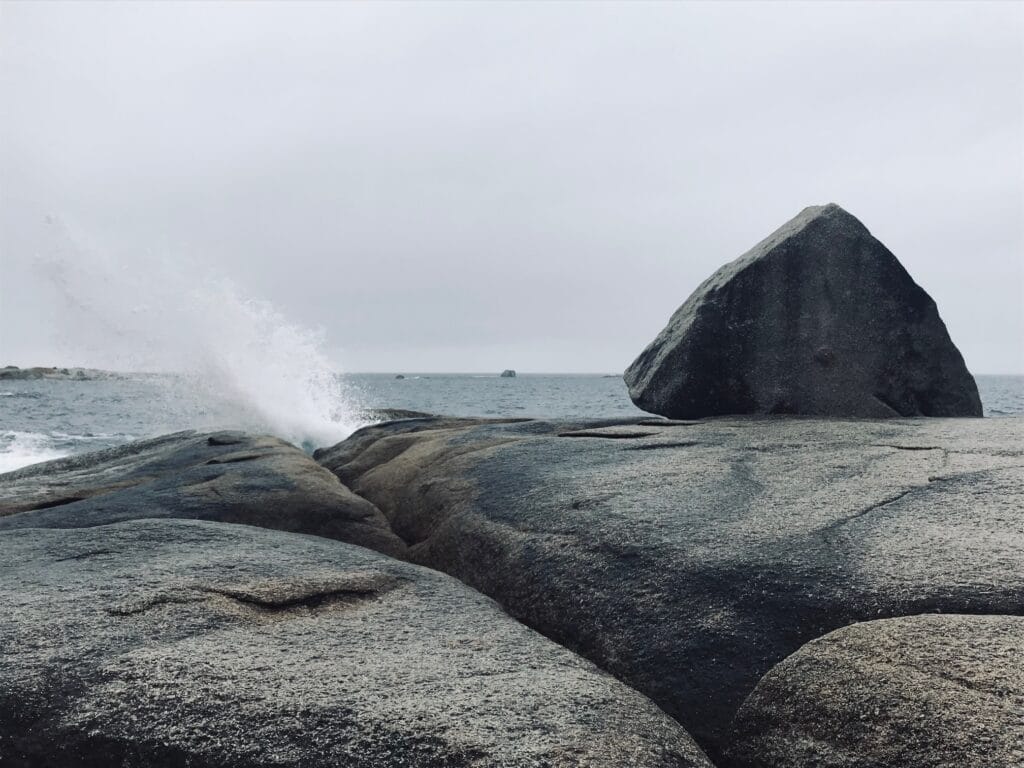
From there we rode north toward Bicheno, stopping at the Bicheno Blowhole before rejoining the Tasman Highway. We followed it past Chain of Lagoons, Little Beach, and Four Mile Creek, before reconnecting near Falmouth. The coastal stretch was breathtaking, with forested rises falling steeply to sea and glimpses of turquoise water below.
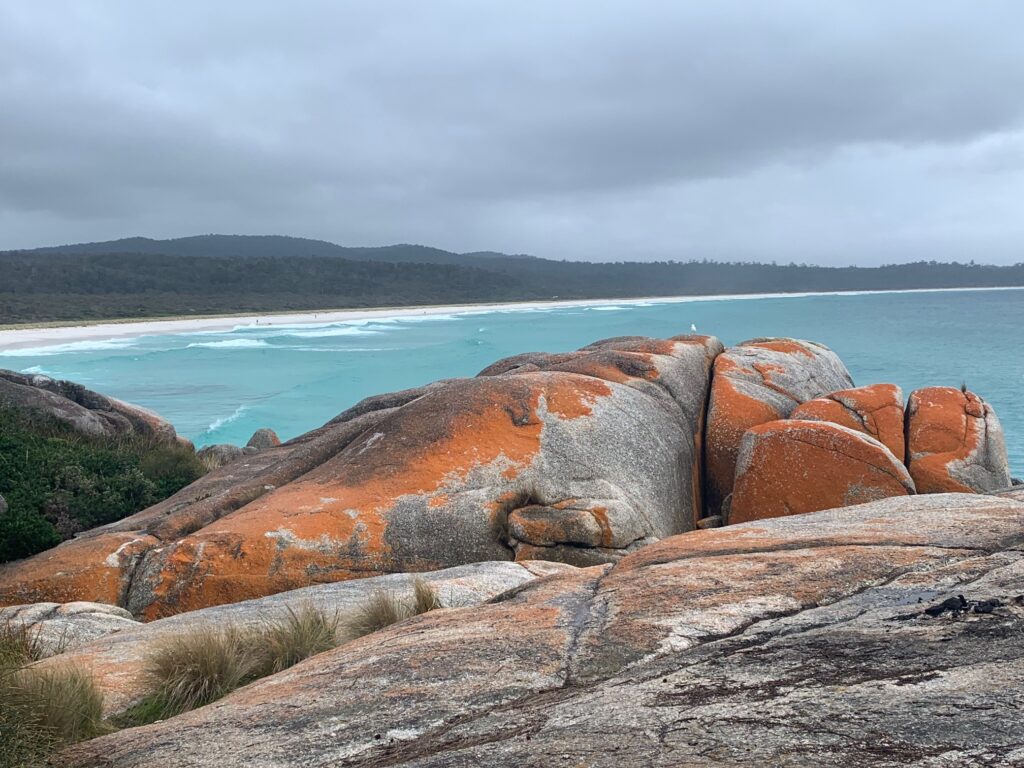
Further on, we passed Scamander and rode into St Helens, pausing at Banjo’s Bakery for a late lunch. Energised, we turned off toward Binalong Bay and the Bay of Fires, exploring as far north as Honeymoon Beach, and passing campgrounds like Sloop Reef filled with travellers from around Australia. One of the highlights was a spontaneous swim at Binalong Bay — cold, but indescribably beautiful in those white sands and clear water.
After drying off, we turned inland on the Tasman Highway toward Pyengana. Before reaching the day’s accommodation, we stopped at the Pyengana Dairy Company for a cheese board and a glass of wine — a perfect late-afternoon treat.
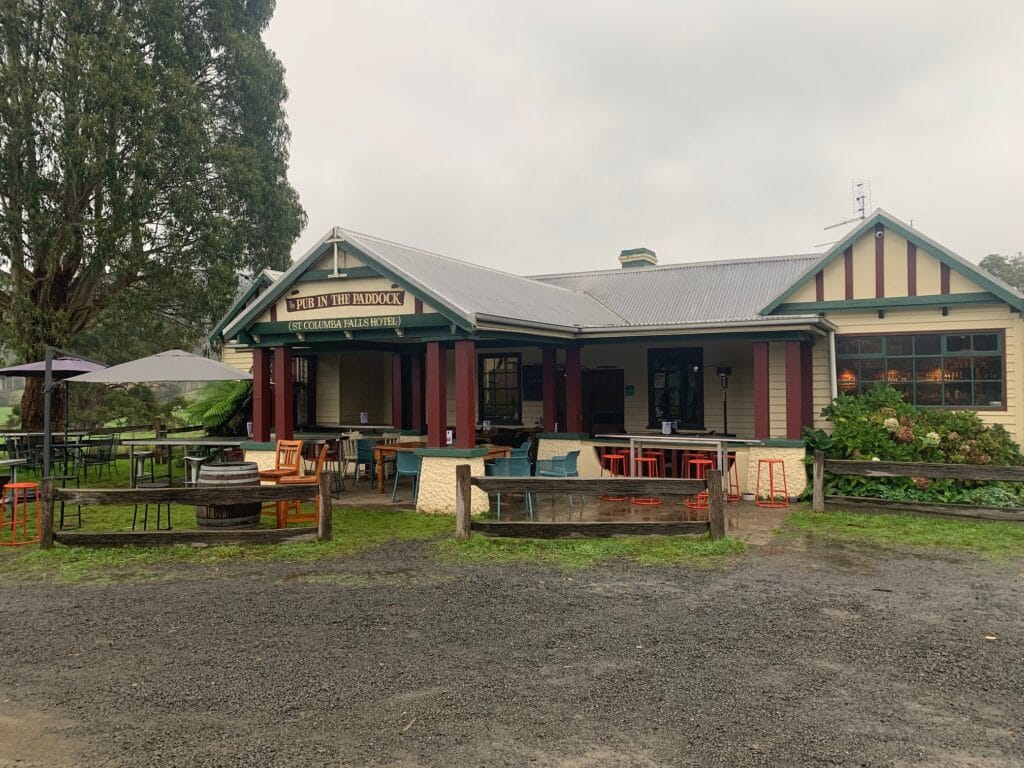
We arrived at the Pub in the Paddock, our home for the night, and settled in for dinner. The pub itself is steeped in history and character — licensed since 1880, making it one of Tasmania’s oldest rural pubs.Over time, the pub has gained a reputation as one of Tasmania’s standout country pubs — often celebrated in listings of the best rural pubs in the bush.
Inside, the walls are lined with local memorabilia and stories of the area. We spotted photos of @charley.boorman on his BMW GS, one of the inspirations behind our motorbike travels. Boorman’s Long Way Round, Down and Up journeys with Ewan McGregor had planted the seed for this kind of adventure years earlier — and it felt fitting to end the day in a place that shared that same spirit.
That evening, we enjoyed hearty country food and a relaxed drink, sharing the trip and ideas with other travellers and soaking in the ambiance of a pub that has welcomed travellers and locals for generations.
Overnight Accommodation
🍻 Pub in the Paddock
Drinks and Meals
Breakfast: Self-catered, Coles Bay
Lunch: Banjo’s Bakery, St Helens
Afternoon: Cheese board + wine at Pyengana Dairy
Dinner and drinks: Pub in the Paddock
Highlights
Swim at Coles Bay and Binalong Bay in pristine coastal settings
Exploring the Bay of Fires coastline and its vivid granite formations
Immersing in the heritage and charm of the Pub in the Paddock
Day 7 – Pyengana to Launceston
Route
Pyengana → St Columba Falls → Weldborough → Mount Paris Dam → Branxholm → Scottsdale → Lilydale → Dilston → Launceston
Distance
Approx. 143 km
Daily Narrative
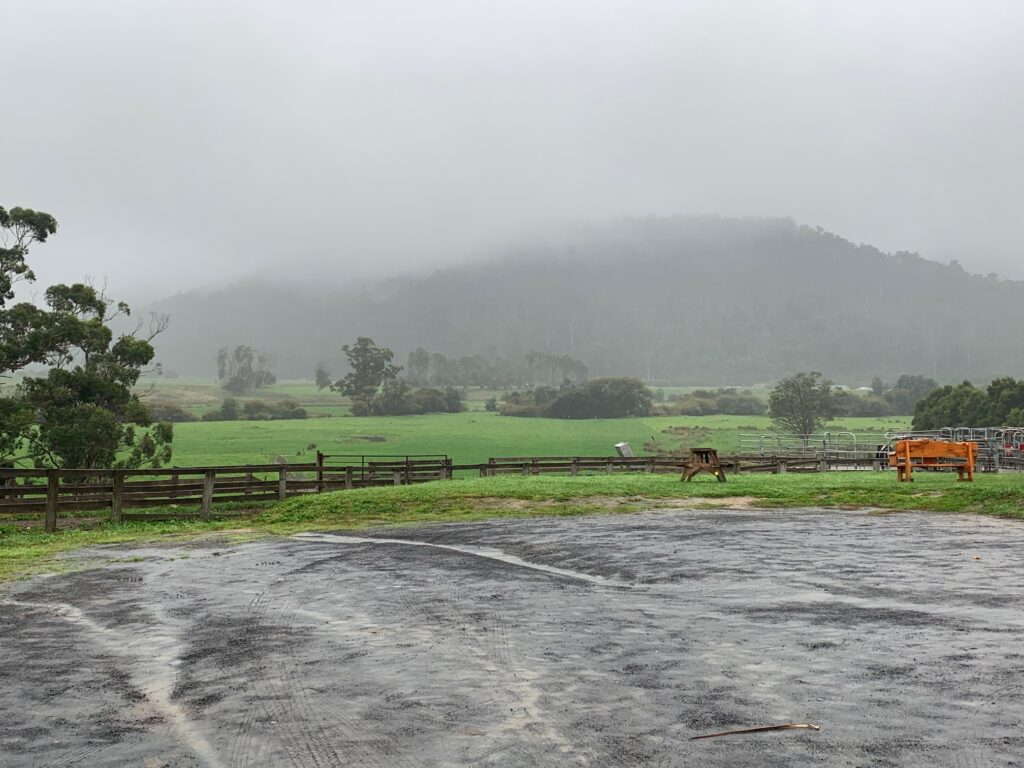
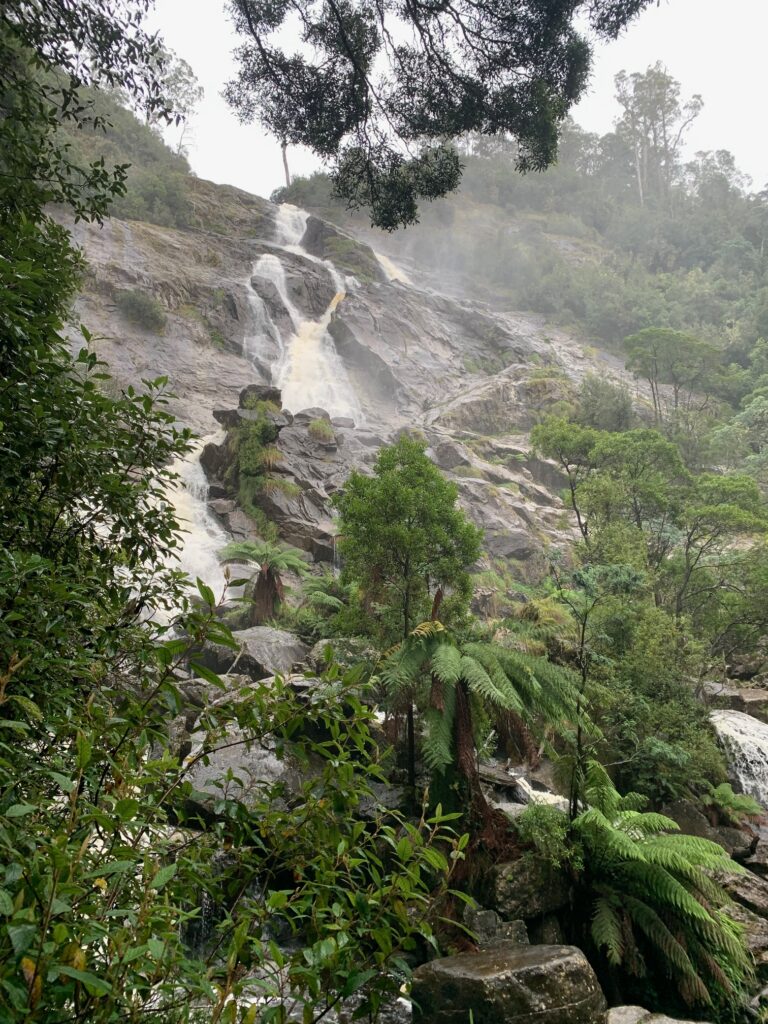
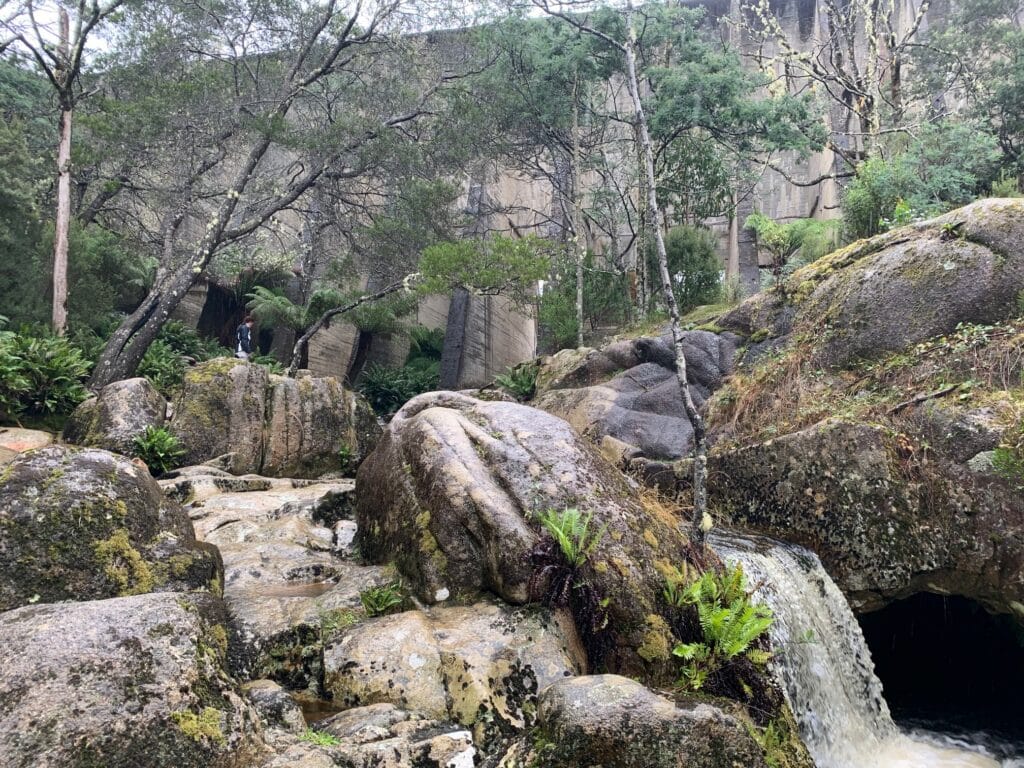
We packed our gear early at the Pub in the Paddock, aware that the day ahead was likely to bring plenty of rain. The morning began under low, heavy skies as we rode a short distance into the St Columba Falls State Reserve to see the spectacular St Columba Falls. The forest was lush and dripping with mist — a truly special sight — but the damp air hinted at what was to come.
From there, we back-tracked to the Tasman Highway, turning off near Weldborough onto Mount Paris Dam Road to visit the old Mount Paris Dam, now long abandoned. The clay road leading in was slick and challenging — our first proper off-road section of the day — but the site itself was worth the effort. The old concrete dam wall, half reclaimed by the forest, framed a tranquil pool that on a warmer day would have been perfect for a swim. Today, though, it was simply too cold and wet.
We rejoined the highway near Branxholm, stopping under the verandah of the Imperial Hotel just as the rain turned torrential. Coffee in hand, we watched it pour, grateful for a dry refuge. When the downpour eased, we pressed on toward Tulendeena Station, a fascinating section of the old North-East Rail Trail, where the disused railway tunnel cuts straight through a mountain ridge before emerging near Scottsdale
By the time we reached Lilydale, the rain had returned in force. We had hoped to visit Lilydale Falls, but the downpour made it impossible to walk in safely. Continuing south through Dilston, we joined the A8 into Launceston via Mowbray, both of us drenched but relieved to arrive without mishap — a true test of our developing riding skills and wet-weather endurance.
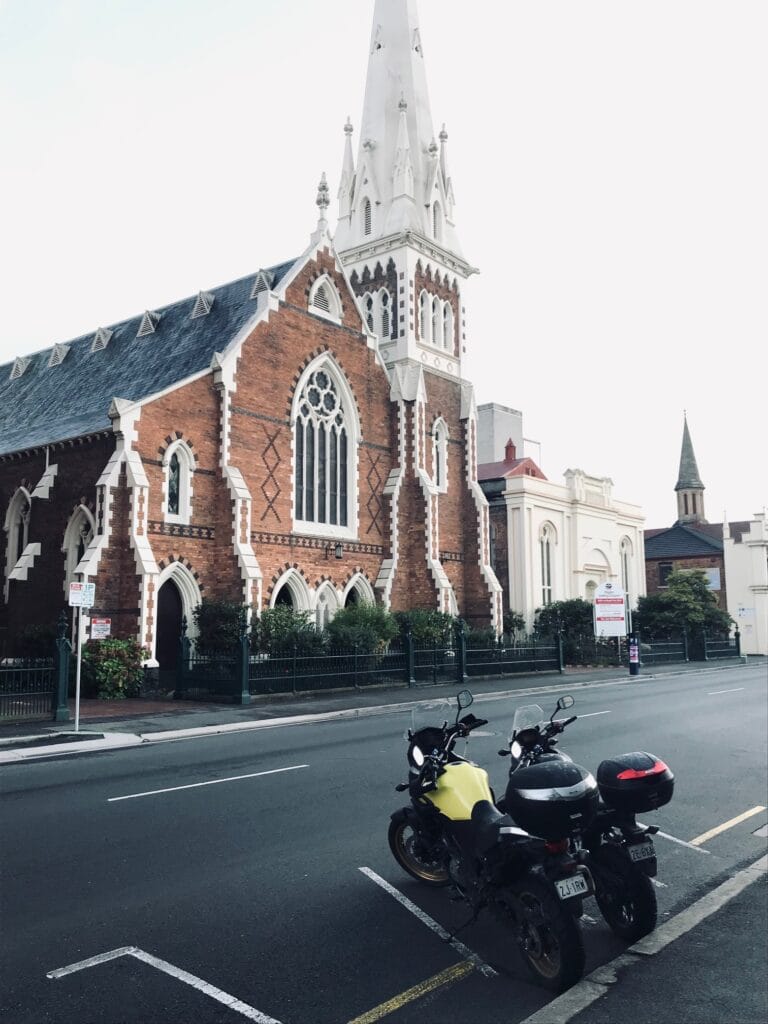
We checked gratefully into the Star Bar Café and Hotel, dripping from every layer. The hosts’ patience and kindness were much appreciated as we made our way upstairs to our room, hung all our gear from any available frame and made our way downstairs for a well earned Guinness. Later, we ventured out for a short wander around the Boag’s Brewery and Launceston’s old streets before warming up over a delicious Indian dinner at Palki Restaurant — the perfect comfort meal after a long, wet day.
Overnight Accommodation
🏨 Star Bar Café and Hotel – Launceston
Drinks and Meals
Breakfast: Coffee and snacks before departure, Pyengana
Lunch: Shelter stop, Imperial Hotel Branxholm
Dinner and drinks: Palki Restaurant, Launceston
Highlights
Spectacular St Columba Falls and the old Mount Paris Dam
Surviving a full day of rain and arriving safely in Launceston for a well-earned hot meal

Day 8 – Launceston to Devonport (Melbourne)
Route
Launceston → Cataract Gorge → Gravelly Beach → Loira → Beaconsfield → Greens Beach → Badger Beach → Bakers Beach → Sassafras → Railton → Devonport
Distance
Approx. 101 km
Daily Narrative
We knew it would be a short day in kilometres, but a long one overall, with the Spirit of Tasmania not sailing back to Melbourne until 7:30 p.m. After breakfast, we decided to make the most of our remaining time and explore more of Launceston on foot.
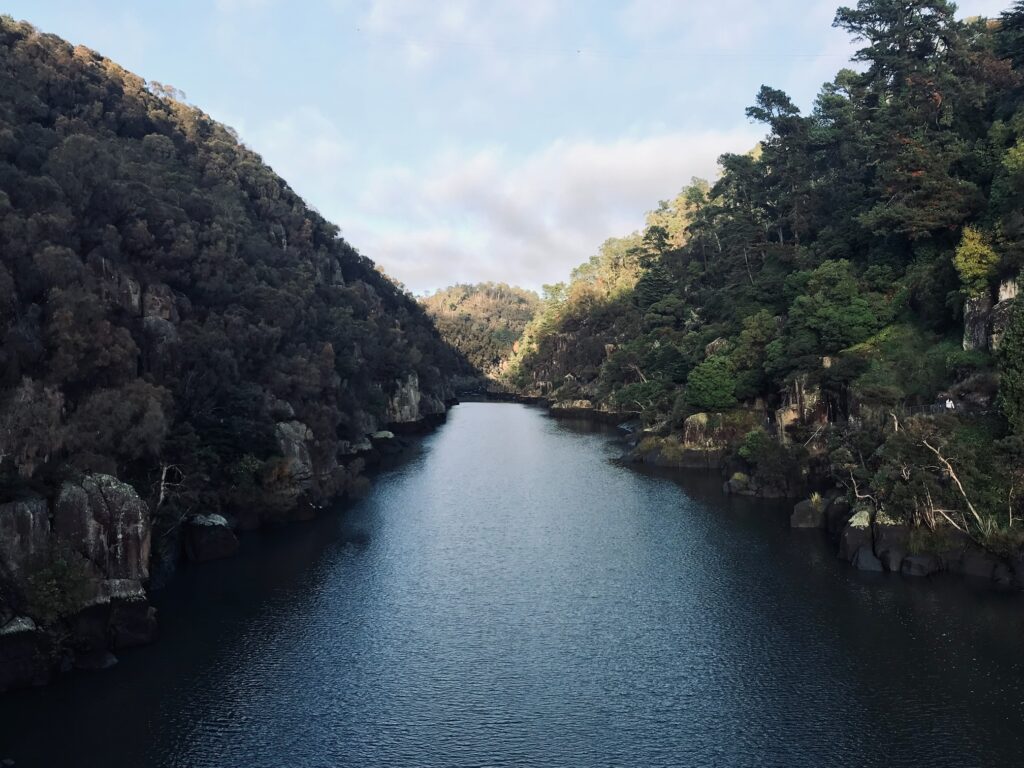
A morning walk took us into the Cataract Gorge, following the north-side track high above the South Esk River. It was a beautiful start — an easy walkway with sweeping views of the river below, the mist just starting to lift. After a couple of hours of walking, we stopped for breakfast at The Pantry, a relaxed café with outdoor seating that must be perfect in summer.

By mid-morning it was time to hit the road. We rode north along the A7 West Tamar Highway, later branching onto the C728 to stay closer to the river through Gravelly Beach. The route wound gently through farmland and small riverside towns before opening into the vineyards of the Tamar Valley near Loira. Rejoining the A7, we continued north through Beaconsfield, an old mining town with character and history, and carried on toward the coast at Greens Beach.
From there, we followed sandy backtracks out to Badger Beach Lookout, where, for the first time all week, the sun finally broke through. With time on our side, we stretched out on the grass in our riding gear — a short rest in rare Tasmanian sunshine before turning west.
Still hours ahead of schedule, we followed a series of secondary roads: the C741 Bakers Beach Road through the Briggs Regional Reserve, then the C173 through rolling farmland to Sassafras on the main highway. From there, we wound our way back to Railton, neatly closing the loop from Day 1. We stopped at the Railton Hotel for a zero-alcohol beer with a few locals — a fitting bookend to where our Tasmanian journey had begun.
The final stretch north to Devonport was smooth and unhurried. With hours still in hand, we enjoyed an early dinner at Mrs Jones Restaurant and Bar, overlooking the harbour and the Spirit’s evening arrival. As dusk fell, we rode to the ferry terminal, joined the familiar queue of travellers, and boarded for the overnight voyage home.
By the time we rolled off in Melbourne at 5 a.m., our first motorbike tour was complete. Eight days, hundreds of kilometres, and one unforgettable adventure later — we were completely hooked on this new form of two-wheel travel.
Overnight Accommodation
🛳 Spirit of Tasmania – Overnight crossing
Drinks and Meals
Breakfast: The Pantry, Launceston
Lunch: Light snacks en-route through the Tamar Valley
Dinner and drinks: Mrs Jones Restaurant and Bar, Devonport
Highlights
Morning walk through Cataract Gorge and breakfast in Launceston
Scenic Tamar Valley ride and sunshine stop at Badger Beach Lookout
Closing the loop at Railton Hotel before boarding the Spirit of Tasmania

Trip Summary & Reflections
ight days, over 1,200 kilometres, and one unforgettable introduction to motorcycle touring.
This first Tasmanian ride proved to be the perfect testing ground for two new riders discovering how much of their old cycling spirit could be carried over onto motorbikes — and it turned out, quite a lot.
From the moment we wheeled the bikes onto the Spirit of Tasmania, the feeling was familiar: two wheels, self-supported, open to the elements, moving through landscapes . Every day brought new terrain — the alpine climbs near Cradle Mountain, the twisting descent through the Lyell Highway, the rolling highlands around Bothwell, and the spectacular coastlines of the east and north.
Tasmania offered the full range of experiences: misty mornings, long stretches of solitude, dramatic changes in weather, and plenty of warm welcomes at country pubs and cafés. The Pub in the Paddock stood out as a highlight, not only for its charm and history but as a reminder that adventure often meets comfort in the most unexpected places.
What we learned most from this trip was the balance between challenge and reward. Riding in rain through the highlands, navigating clay backroads, and tackling long days in the saddle all built confidence and trust — both in our bikes and in each other. By the time we rolled back into Devonport, we’d discovered how natural motorcycle touring felt: the same sense of rhythm and freedom that our long-distance cycling once brought us, but now extended across greater distances and deeper landscapes.
Back in Melbourne at dawn, stepping off the ferry felt less like the end of a trip and more like the beginning of a new chapter. The Suzuki V-Strom 650 and Honda CB500X had earned their stripes, and so had we. From here, the plans for future rides — across Australia and beyond — started taking shape.
Leave a Reply